If you're struggling with shooting in NBA 2K25, you are not alone. Shooting mechanics in 2K games can be challenging, but NBA 2K25 introduces a new shooting option that could change the way you approach the game: Rhythm Shooting. Rhythm Shooting offers a more immersive experience, focusing on your player’s shooting motion and timing rather than relying on standard button presses or shot-stick movements. In this article, we’ll break down how to master Rhythm Shooting, what to look for in your animations, and why this mechanic can elevate your shooting game.
What Is Rhythm Shooting?
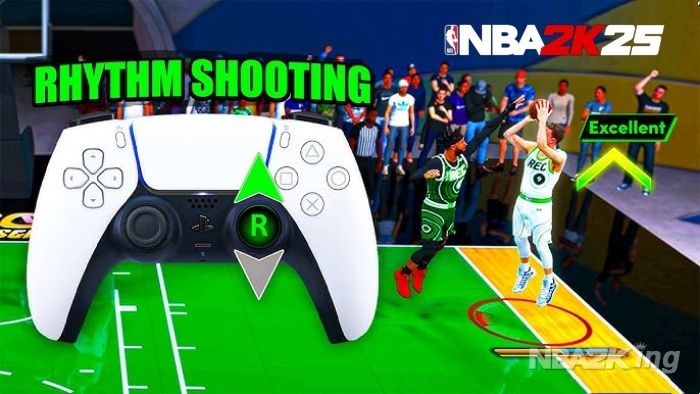
NBA 2K25 adds Rhythm Shooting as a third option for shooting, alongside the standard button press and shot-stick techniques. This new mechanic requires you to closely monitor your player’s shooting animation. Instead of merely timing the release of your shot, Rhythm Shooting demands attention to detail throughout the entire shooting motion — from the beginning of the jump to the follow-through.
With Rhythm Shooting, you use the shot stick to simulate the player's jump shot by pulling the stick down and then pushing it forward at specific points during the shot. Essentially, you’re working with the player’s rhythm, matching the motion of the stick with the player's animation cues.
Why Rhythm Shooting Is a Game-Changer
As Mike Wang, NBA 2K’s gameplay director, has stated multiple times, mastering Rhythm Shooting offers a distinct advantage. Players who learn the timing and rhythm of their character’s shot can consistently achieve better results compared to those using standard shooting methods. The key is getting familiar with how the animations work, which will allow you to time your shots more effectively.
The primary benefit of Rhythm Shooting lies in its ability to create a larger green window — the timing zone where a perfect release occurs, leading to higher shot success. Additionally, this mechanic reduces the margin for error, giving skilled players a noticeable edge.
How to Master Rhythm Shooting
To get better at Rhythm Shooting, you'll need to pay close attention to your player’s animation cues. Here’s a step-by-step breakdown:
1. Observe the Shooting Motion: The first thing you need to do is watch how your player shoots. Look for specific points in the shooting motion — such as when the elbow straightens or when the player’s hand is under the ball.
2. Pull the Shot Stick: Once you've identified the beginning of your player's shot motion, pull the right stick down. The goal is to initiate the jump shot by pulling the stick in sync with the player's movement.
3. Push the Stick Forward: At the peak of your player's jump, push the stick forward. This action simulates the extension of the shooting arm. The key here is to match the stick movement with the player’s animation, particularly the point where their arm reaches full extension.
4. Release Timing: Finally, release the stick when the player reaches their follow-through, often marked by the flick of the wrist. This final timing is crucial, as it determines the shot's success.
One tip to remember is that if the process feels overwhelming, you can focus on two key animation cues: the elbow setting and the wrist flick. Simplifying the cues can help you get comfortable with Rhythm Shooting without feeling overwhelmed by the intricacies of each animation.
The Importance of Shot Timing Profiles
NBA 2K25 allows players to customize their shot timing profiles, which affects how fast or slow your player releases the ball. Rhythm Shooting works across different profiles — whether you're using an early release or a late release, the principles remain the same.
However, shot timing profiles can make a significant difference in how you approach Rhythm Shooting. For instance, a "Very Early" release gives you a shorter window to time your shot, while a "Very Late" release offers a longer window. The key is to find a profile that suits your playstyle while maximizing your ability to read and react to your player's shooting motion.
From testing various profiles, I’ve found that regardless of the release timing, Rhythm Shooting tends to last about 50 frames, which equates to roughly 8 seconds of in-game time. That consistency means you can adapt Rhythm Shooting to any timing profile with a bit of practice.
Mastering Catch-and-Shoot Rhythm Shots
Catch-and-shoot situations can add an extra layer of difficulty when using Rhythm Shooting. Unlike with the shot button, where you can preload your shot by holding down the button as the ball arrives, Rhythm Shooting requires more precise timing.
When preparing for a catch-and-shoot jumper, you can start pulling down the right stick as the pass comes in but don’t fully extend it until after you’ve caught the ball. This technique helps avoid any awkward hitches in your shot motion. Timing is everything here — make sure you pull down the stick just before catching the ball and smoothly transition into the shooting motion by pushing it forward.
Advanced Rhythm Shooting Techniques
Rhythm Shooting isn’t just for simple jump shots. You can also use it effectively for more complex shots like fadeaways, step-back jumpers, and even pull-up shots in transition.
• Fadeaways: When attempting fadeaway shots, focus on the same rhythm principles. Time your stick motion with the release point of your player’s shot. The consistency in rhythm shooting mechanics will help you nail fadeaways with better accuracy.
• Step-back Jumpers: Step-back jumpers often have a unique animation, which can be easier to read when using Rhythm Shooting. The key is to start the shooting motion right after the step-back animation finishes and push the stick forward at the right moment.
• Transition Pull-ups: Shooting in transition can be tricky, but with Rhythm Shooting, you can transition smoothly from a dribble into a pull-up jumper. The motion of dribbling into the shot feels natural, especially when you’ve practiced reading the timing cues from your player’s animation.
Drills to Improve Your Rhythm Shooting
To become proficient with Rhythm Shooting, practice is essential. Here are a few drills that can help:
1. Player Swapping Drill: Switch between different players with different jump shot speeds to force yourself to adjust to their unique rhythms. This prevents you from relying on muscle memory and helps you focus on reading animation cues.
2. Elbow Cue Drill: Practice with players like Kristaps Porziņģis, whose release points are harder to time. For example, rather than focusing on his elbow, wait until the ball reaches his forehead to push the stick forward. This builds your ability to identify new timing cues for difficult players.
3. Shot Variety Drill: Mix up the types of shots you take in practice — pull-ups, step-backs, catch-and-shoots — to develop the discipline to read different animations. Incorporating different shot types will prepare you for in-game situations where shot variety is crucial.
Final Thoughts: Why You Should Try Rhythm Shooting
Rhythm Shooting is a significant evolution in NBA 2K25's shooting mechanics. By mastering it, you can unlock a new level of precision and control, especially when it comes to more advanced shots like fadeaways and step-back jumpers. The key to success lies in practicing with the animation cues unique to each player and shot type.
Remember, the green window for perfect releases is larger with Rhythm Shooting, and turning off your shot meter will help you focus more on your player’s animation cues. Get in the lab, practice these techniques, and soon you’ll be shooting with more confidence and consistency.
Remember to stay tuned to NBA2King.com for all the latest news & guide! and Buy NBA 2K25 MT service, check out NBA2King.